PHO2WALL
Quick Start
Setup • Daily Use • Tips
Find your Wi-Fi login and password. This is usually printed on the back of the Wi-Fi / Internet router. The Pho2Wall system use 2.4 GHz Wi-Fi only. 5 GHz is ignored.
(Or disconnect if you did already!)
Wait about 1 minute for the HotSpot to become visible in your overview of networks/SSID's. On a PC or mobile device, connect to Pho2WallHotSpot*
Enter the password for the hotspot: pho2wall2025
When you see Connected, without internet you can proceed.
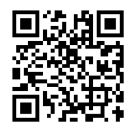
By scanning this QR code you follow the link to http://10.10.10.1:5050 in a browser.
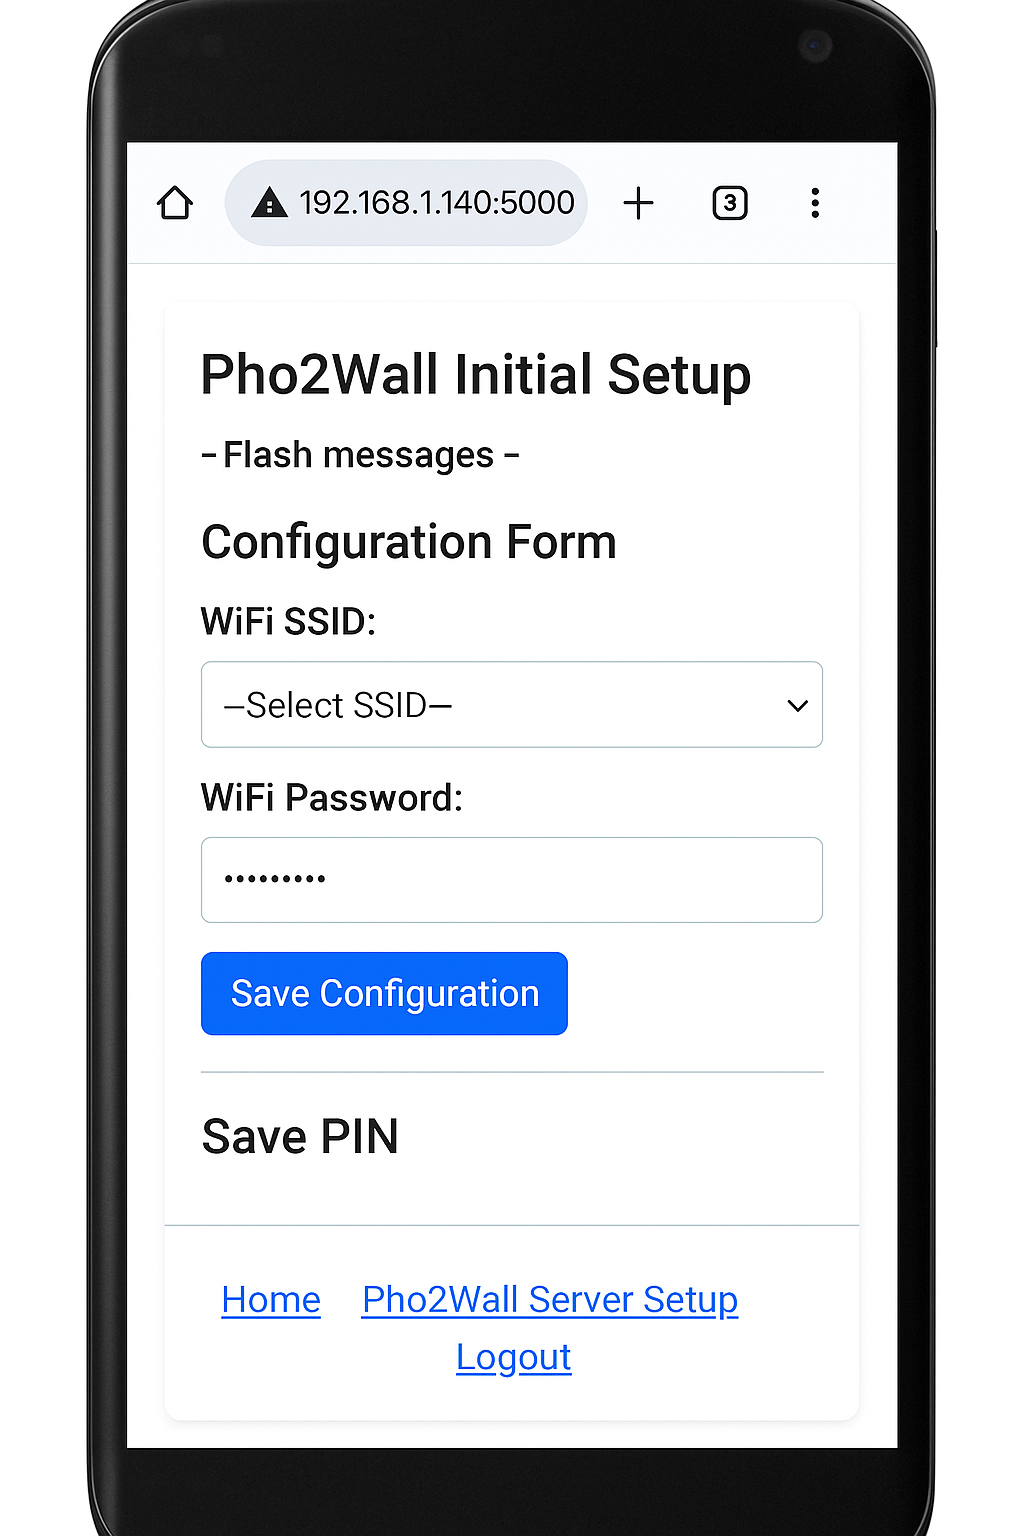
The Pho2Wall Initial Setup page will open.
Select your home Wi-Fi from the list, enter the Wi-Fi password, accept the terms, and press Connect.The link will be interrupted; that is normal.
Now you can reconnect your PC or mobile device to your own Wi-Fi.
In this time Pho2Wall will prepare; this will take a few minutes. Shortly you will receive an email from Pho2Wall. You will find instructions and the URL to the Pho2Wall website. You can soon proceed to the Pho2Wall website.
Plug the USB-C connectors, of the client LCD screens, to the Pho2Wall Central Unit.
Click the Add Client to Pho2Wall option. The Pho2Wall server will find the client screens. This can take up to 5 minutes. If the clients did not yet connect then power off Pho2Wall. After 1 minute wait, power up Pho2Wall again and repeat the login and Add Client procedure.
This is a crucial and sensitive process, that can take some time.
After recognising, your WiFi will register the clients.
A Waiting for media screen will appear. That screen includes a QR-code with the link to upload.
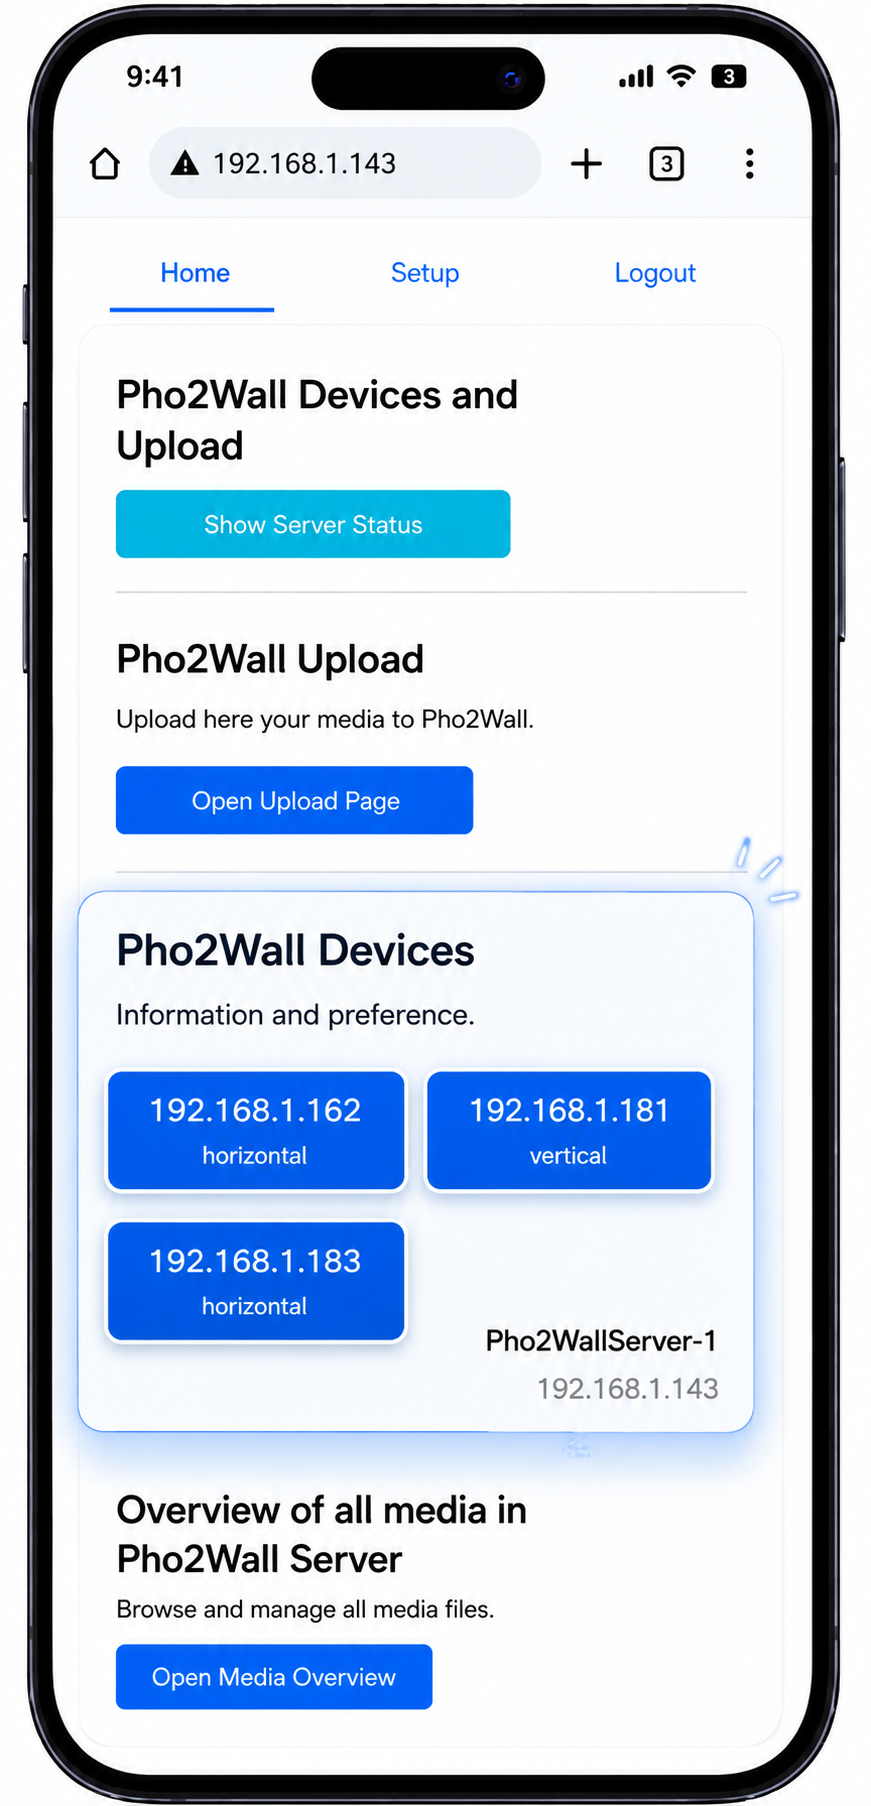
Very sorry, but you still have to WAIT! The registration process needs to complete now and is only finished when all client LCD screens are listed on your Home screen.You can click on the Pho2Wall Server Setup option at the footer menu. Here you find (once registered) a list of your Pho2Wall devices and also: Blacklist, which enables you to block media with certain names or text in the title.
Further below you will see 2 QR codes; one is for direct access to your WiFi and one for opening the upload page to Pho2Wall. Note that you have an option to print these QR codes, for easy access.
Guest PIN is defaulted to 1234; you can change that PIN to any other combination, if needed.
Now click the Home option and let's check if all client LCD screens are listed.
Guest PIN: 1234
Guests can upload photos and videos. Guest uploads are limited to 5 media files.
Admin PIN: available on registration.
Admins retain full control of the Pho2Wall system.
After first setup, the Pho2Wall system is plug-and-play. The online control centre provides tools and options to customize the system.
Pho2Wall is not a backup system. Keep a reliable backup before uploading media. Media can be resized, renamed, decoded, and optimized for display.
Do not restore media from Pho2Wall.
The Pho2Wall system is Linux and C# based. SD cards should not be removed or replaced, because this can seriously harm system functionality.
Some maintenance options are hidden to avoid accidental use. They can be released by tapping the dot on top of selected website pages.
During setup, update, or some options, Pho2Wall may restart. The website can temporarily go offline. Wait for the spinner to finish.
Keep ventilation openings free. Do not place the system near heaters or in direct sunlight. Moisture and water can damage the equipment.
Check that you are connected to Pho2WallHotSpot.
Power up Pho2Wall and try again.
Cold boot the Pho2Wall system and re-enter the Wi-Fi details from the beginning.